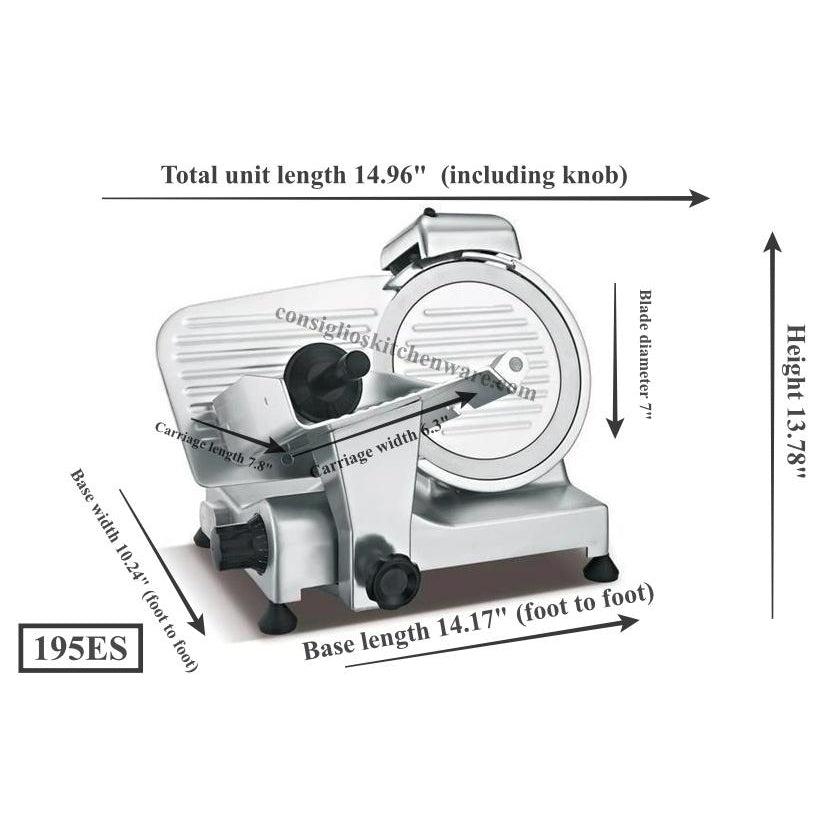
Please note - although this slicer is classified as a 6" on the packaging the actual blade size is 7" allowing for larger cuts and operation.
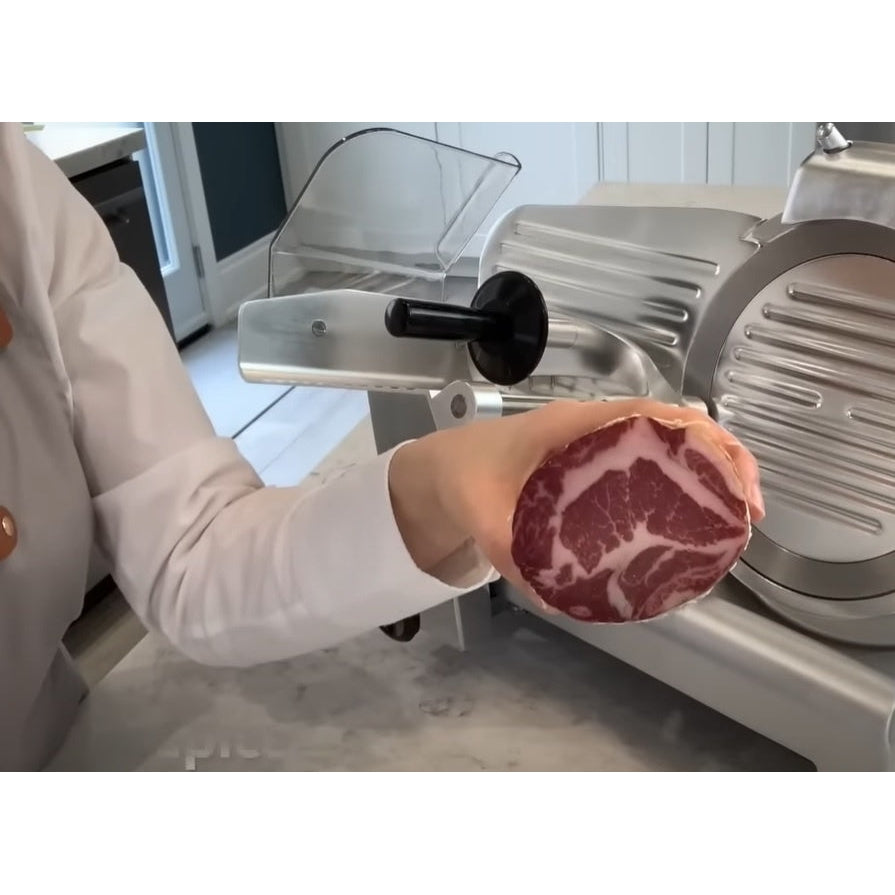
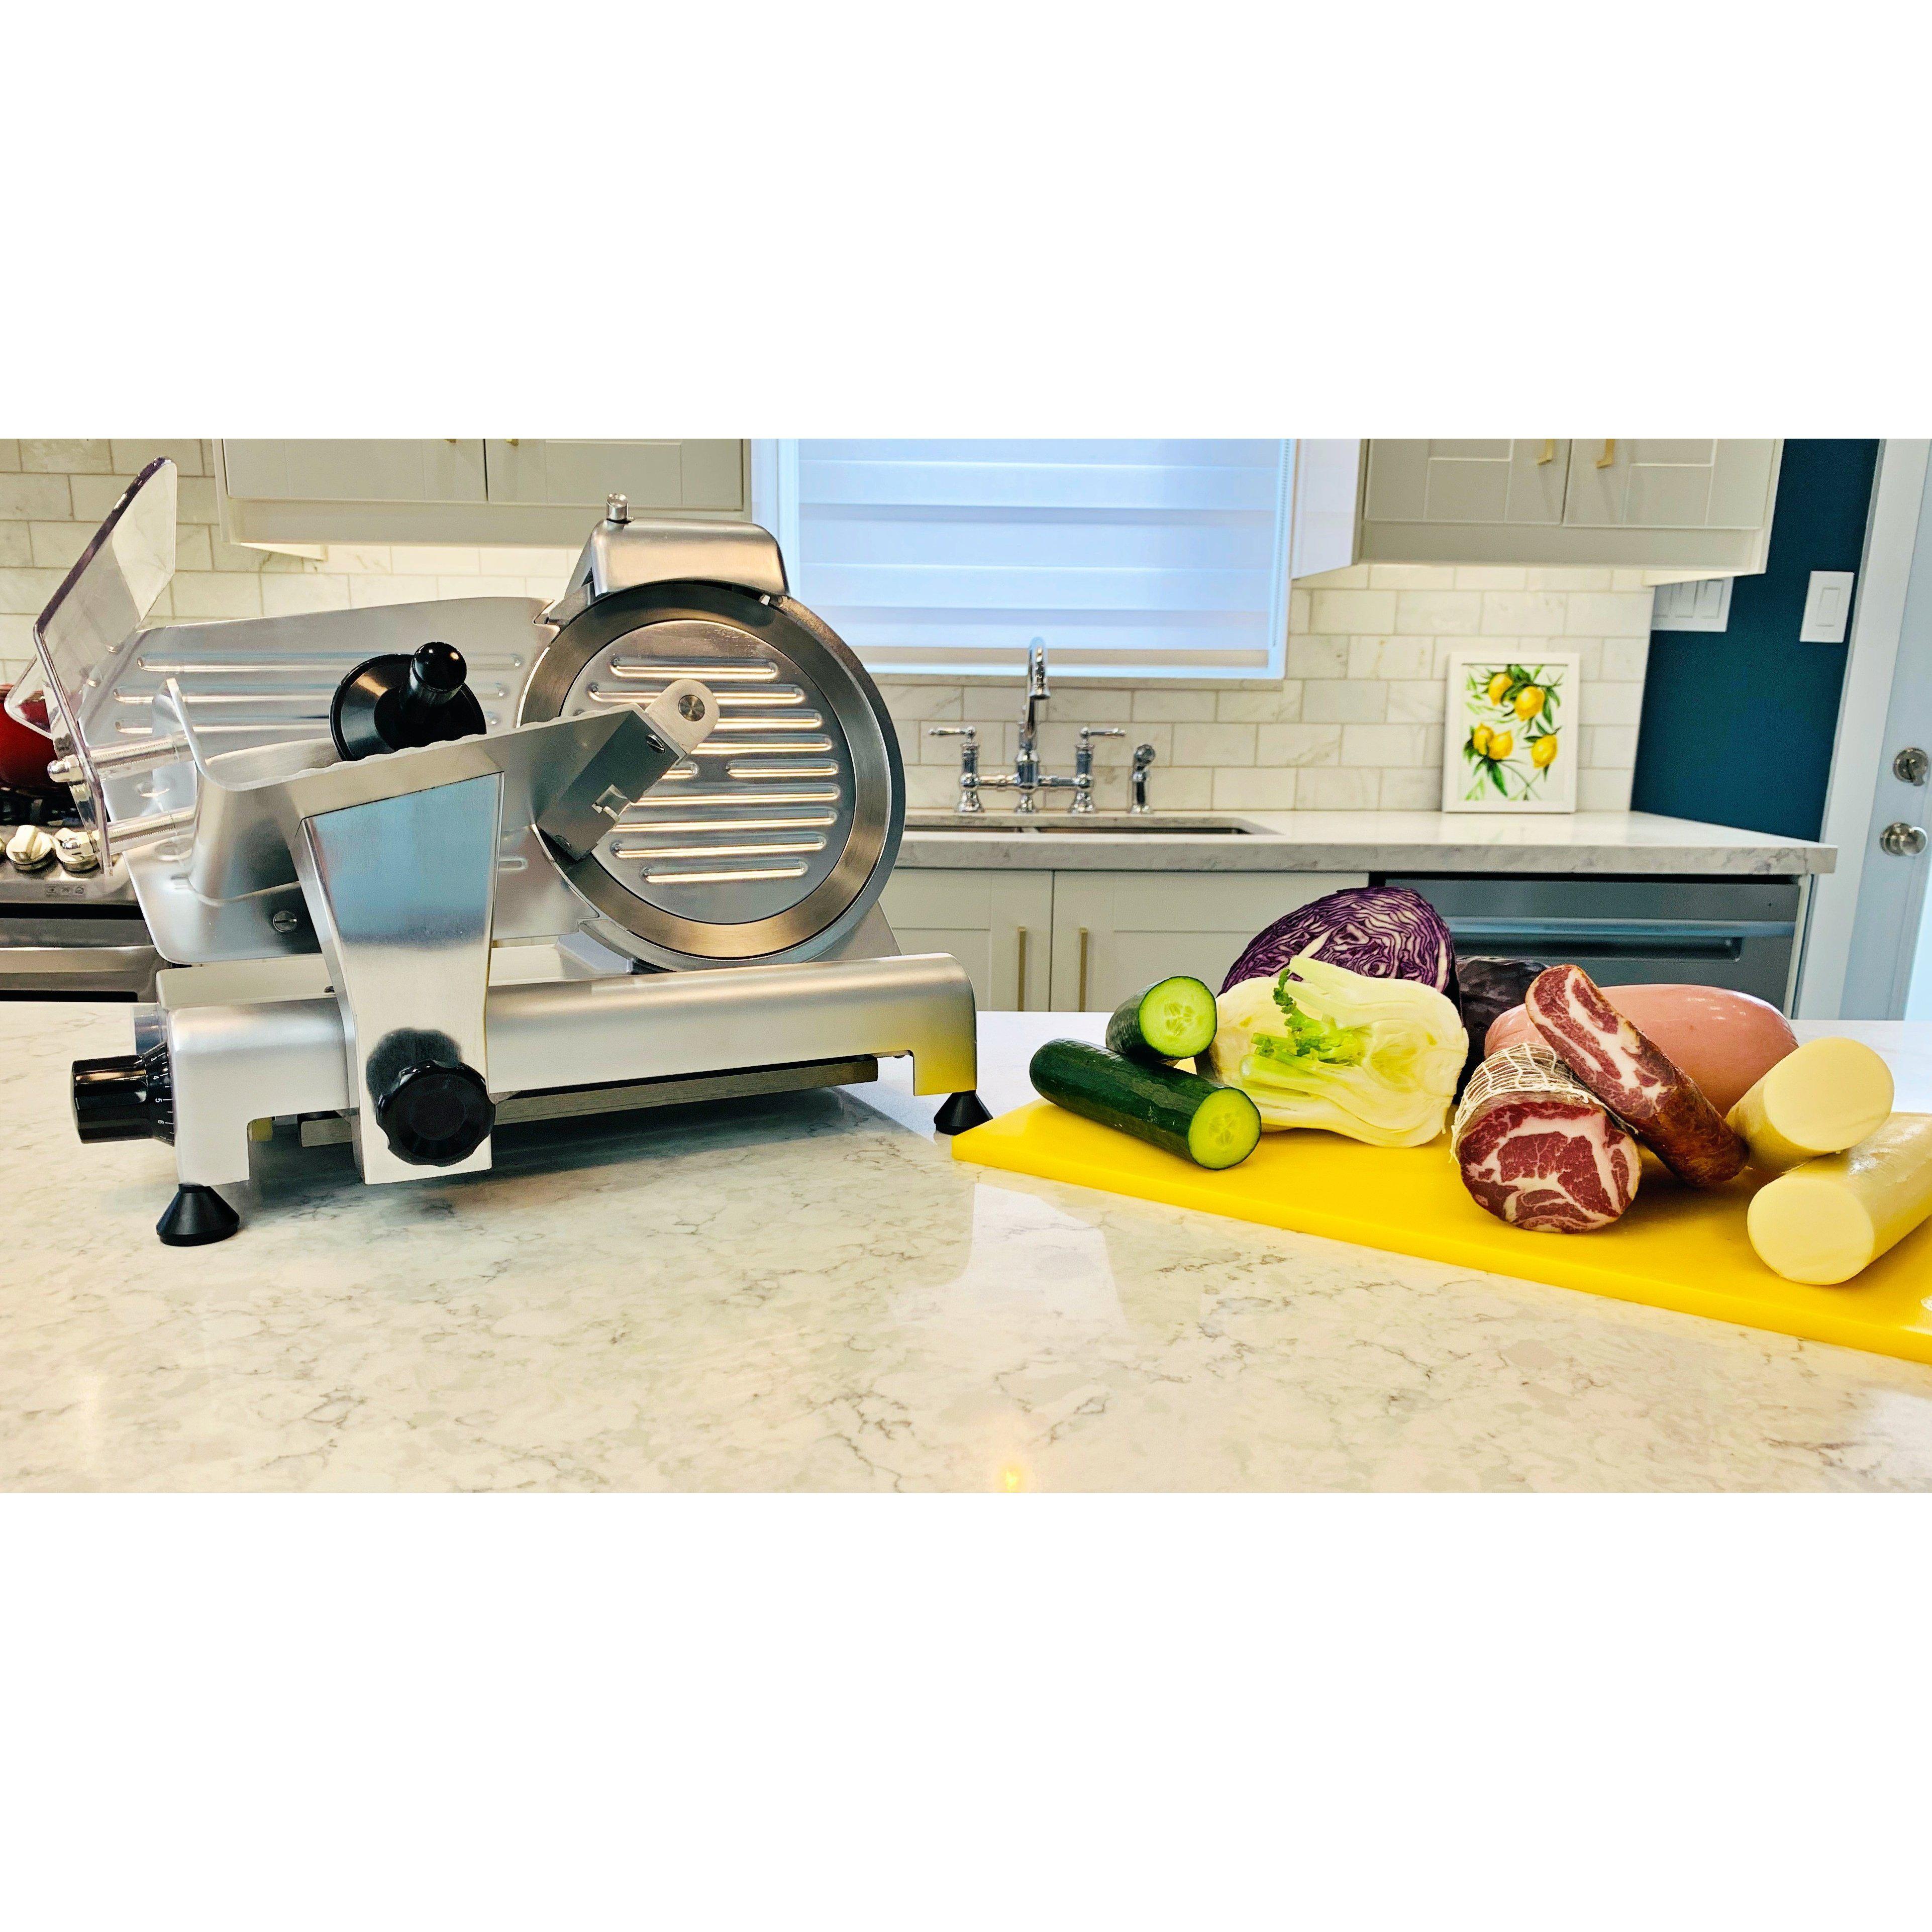
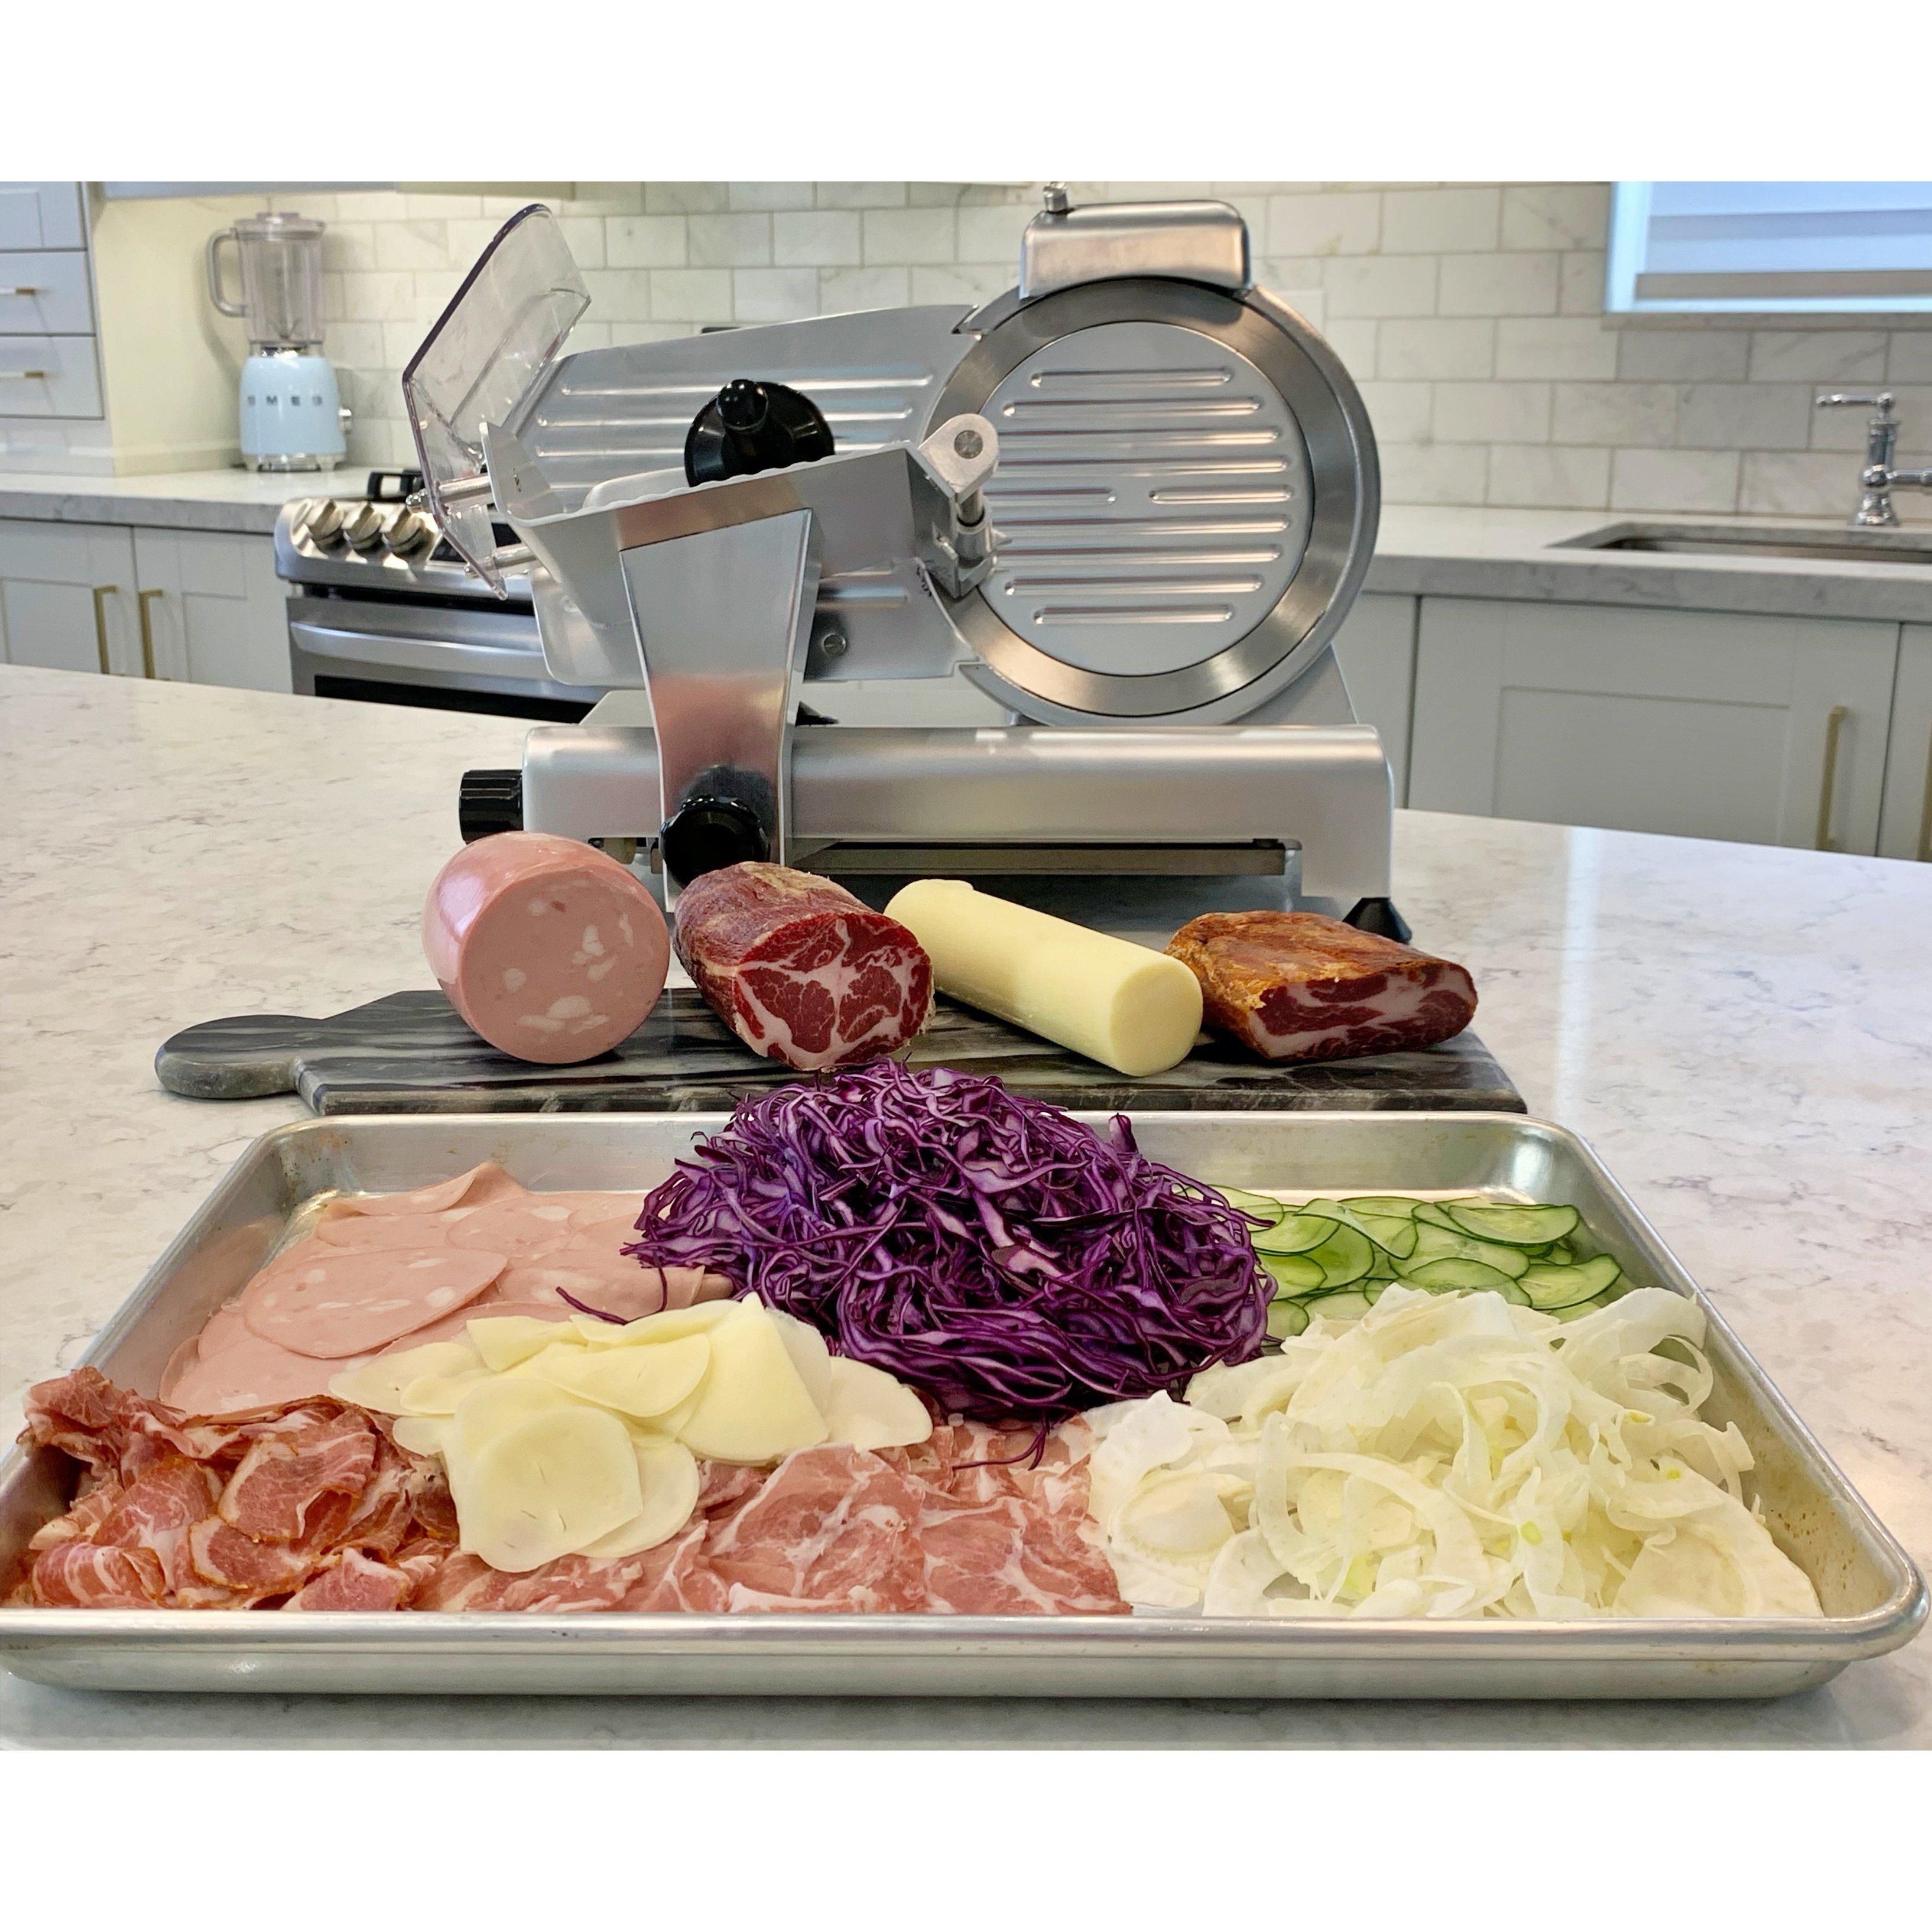
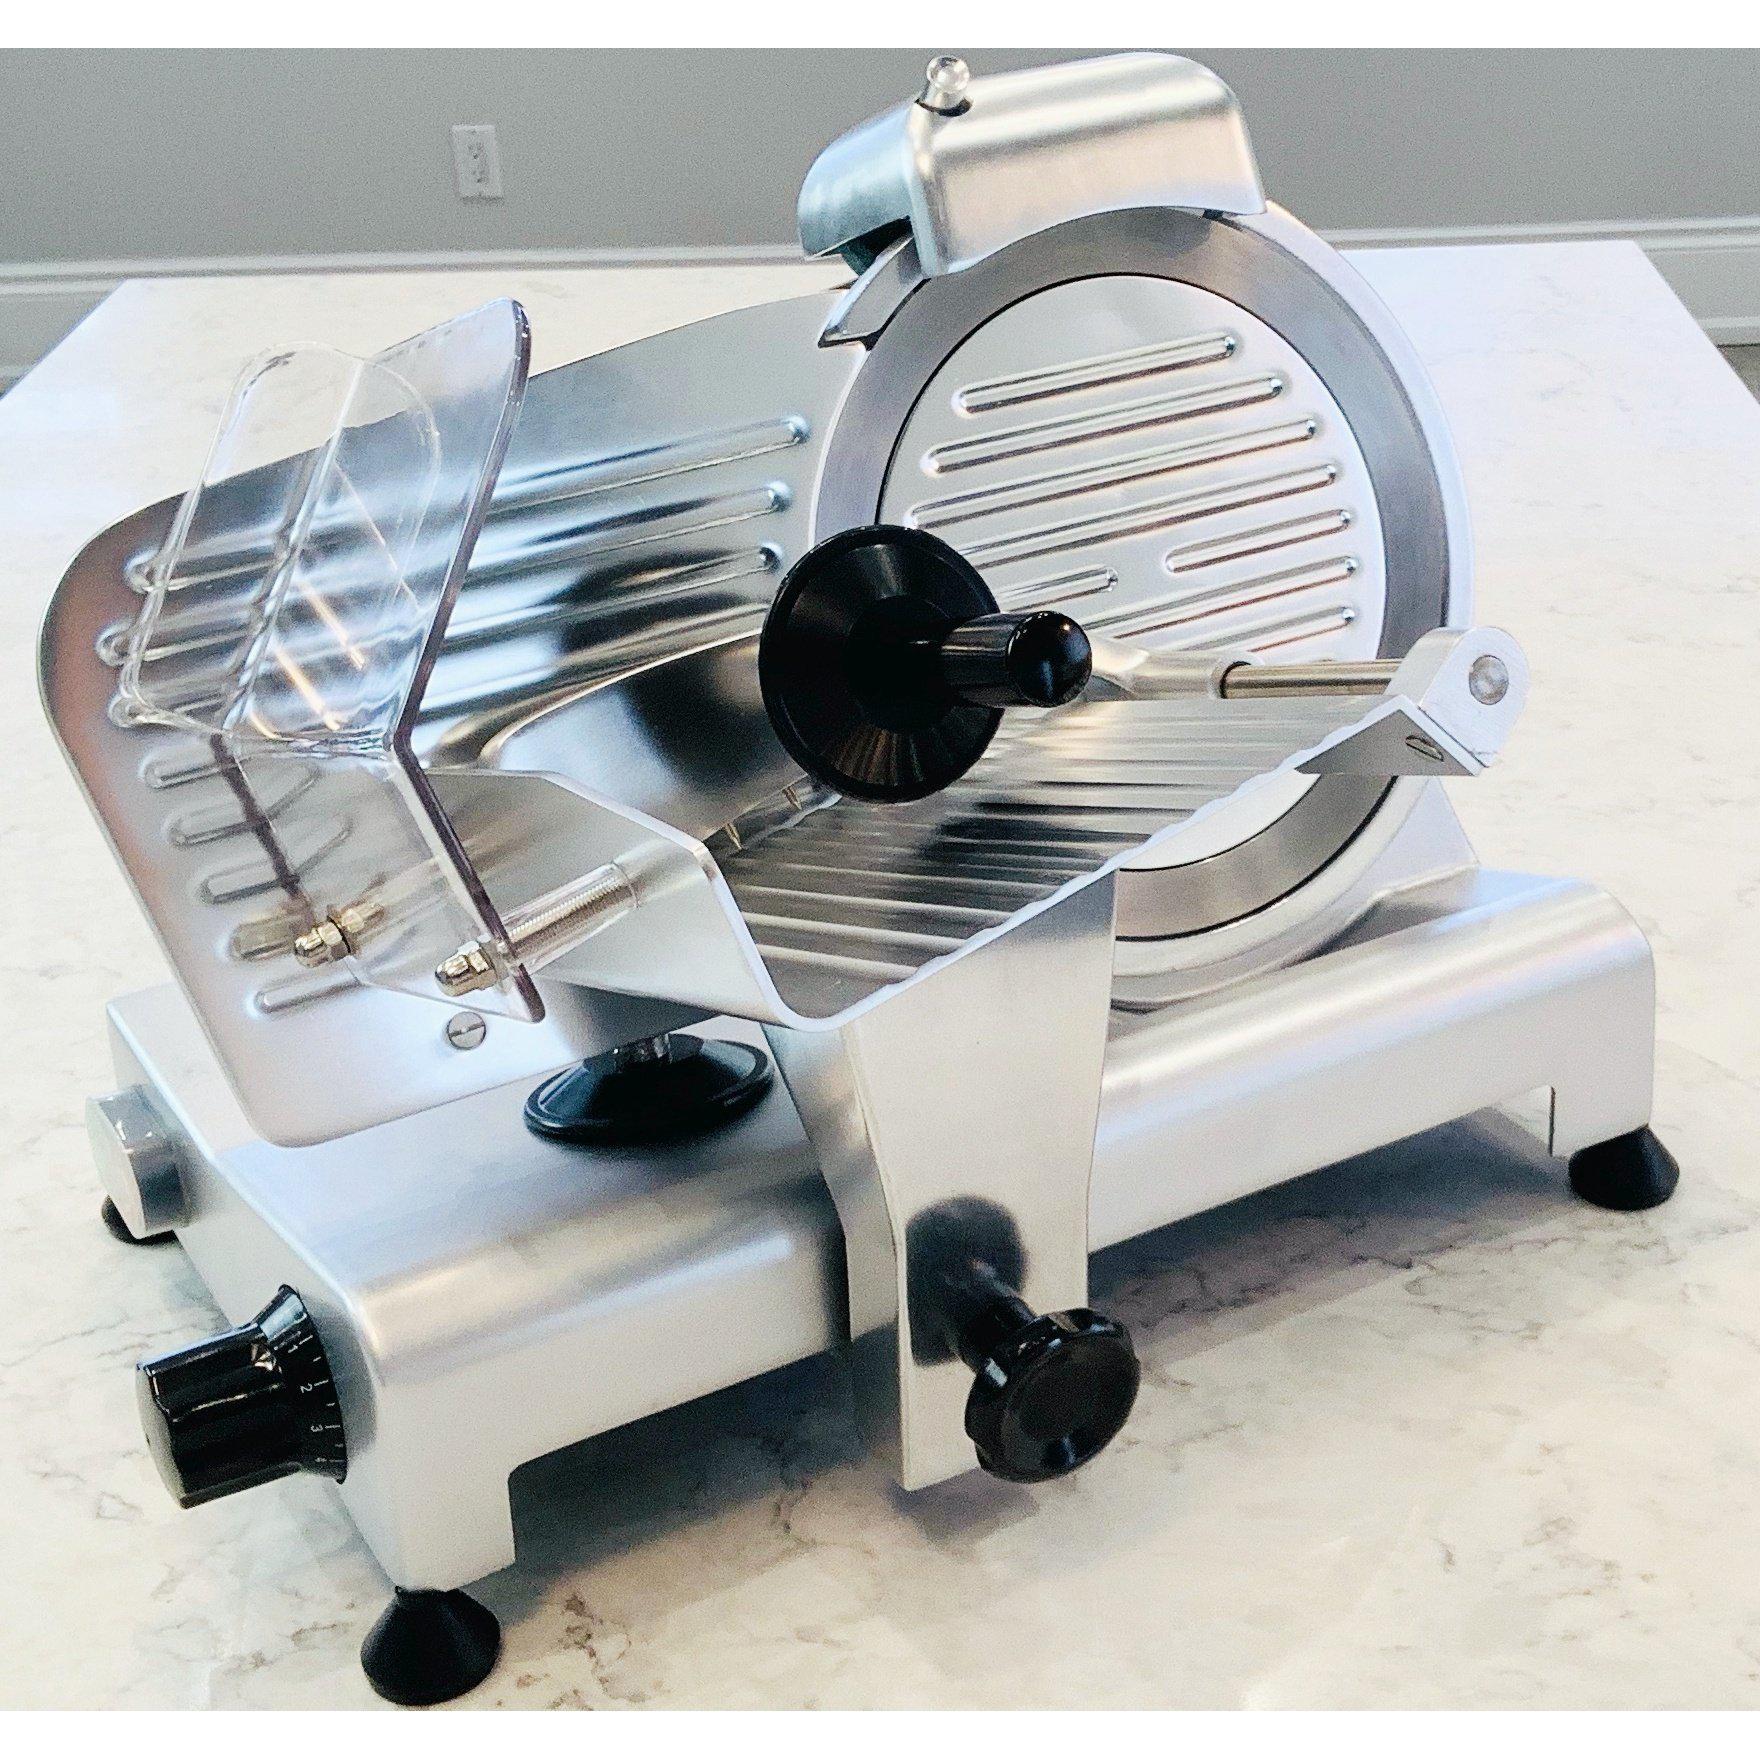
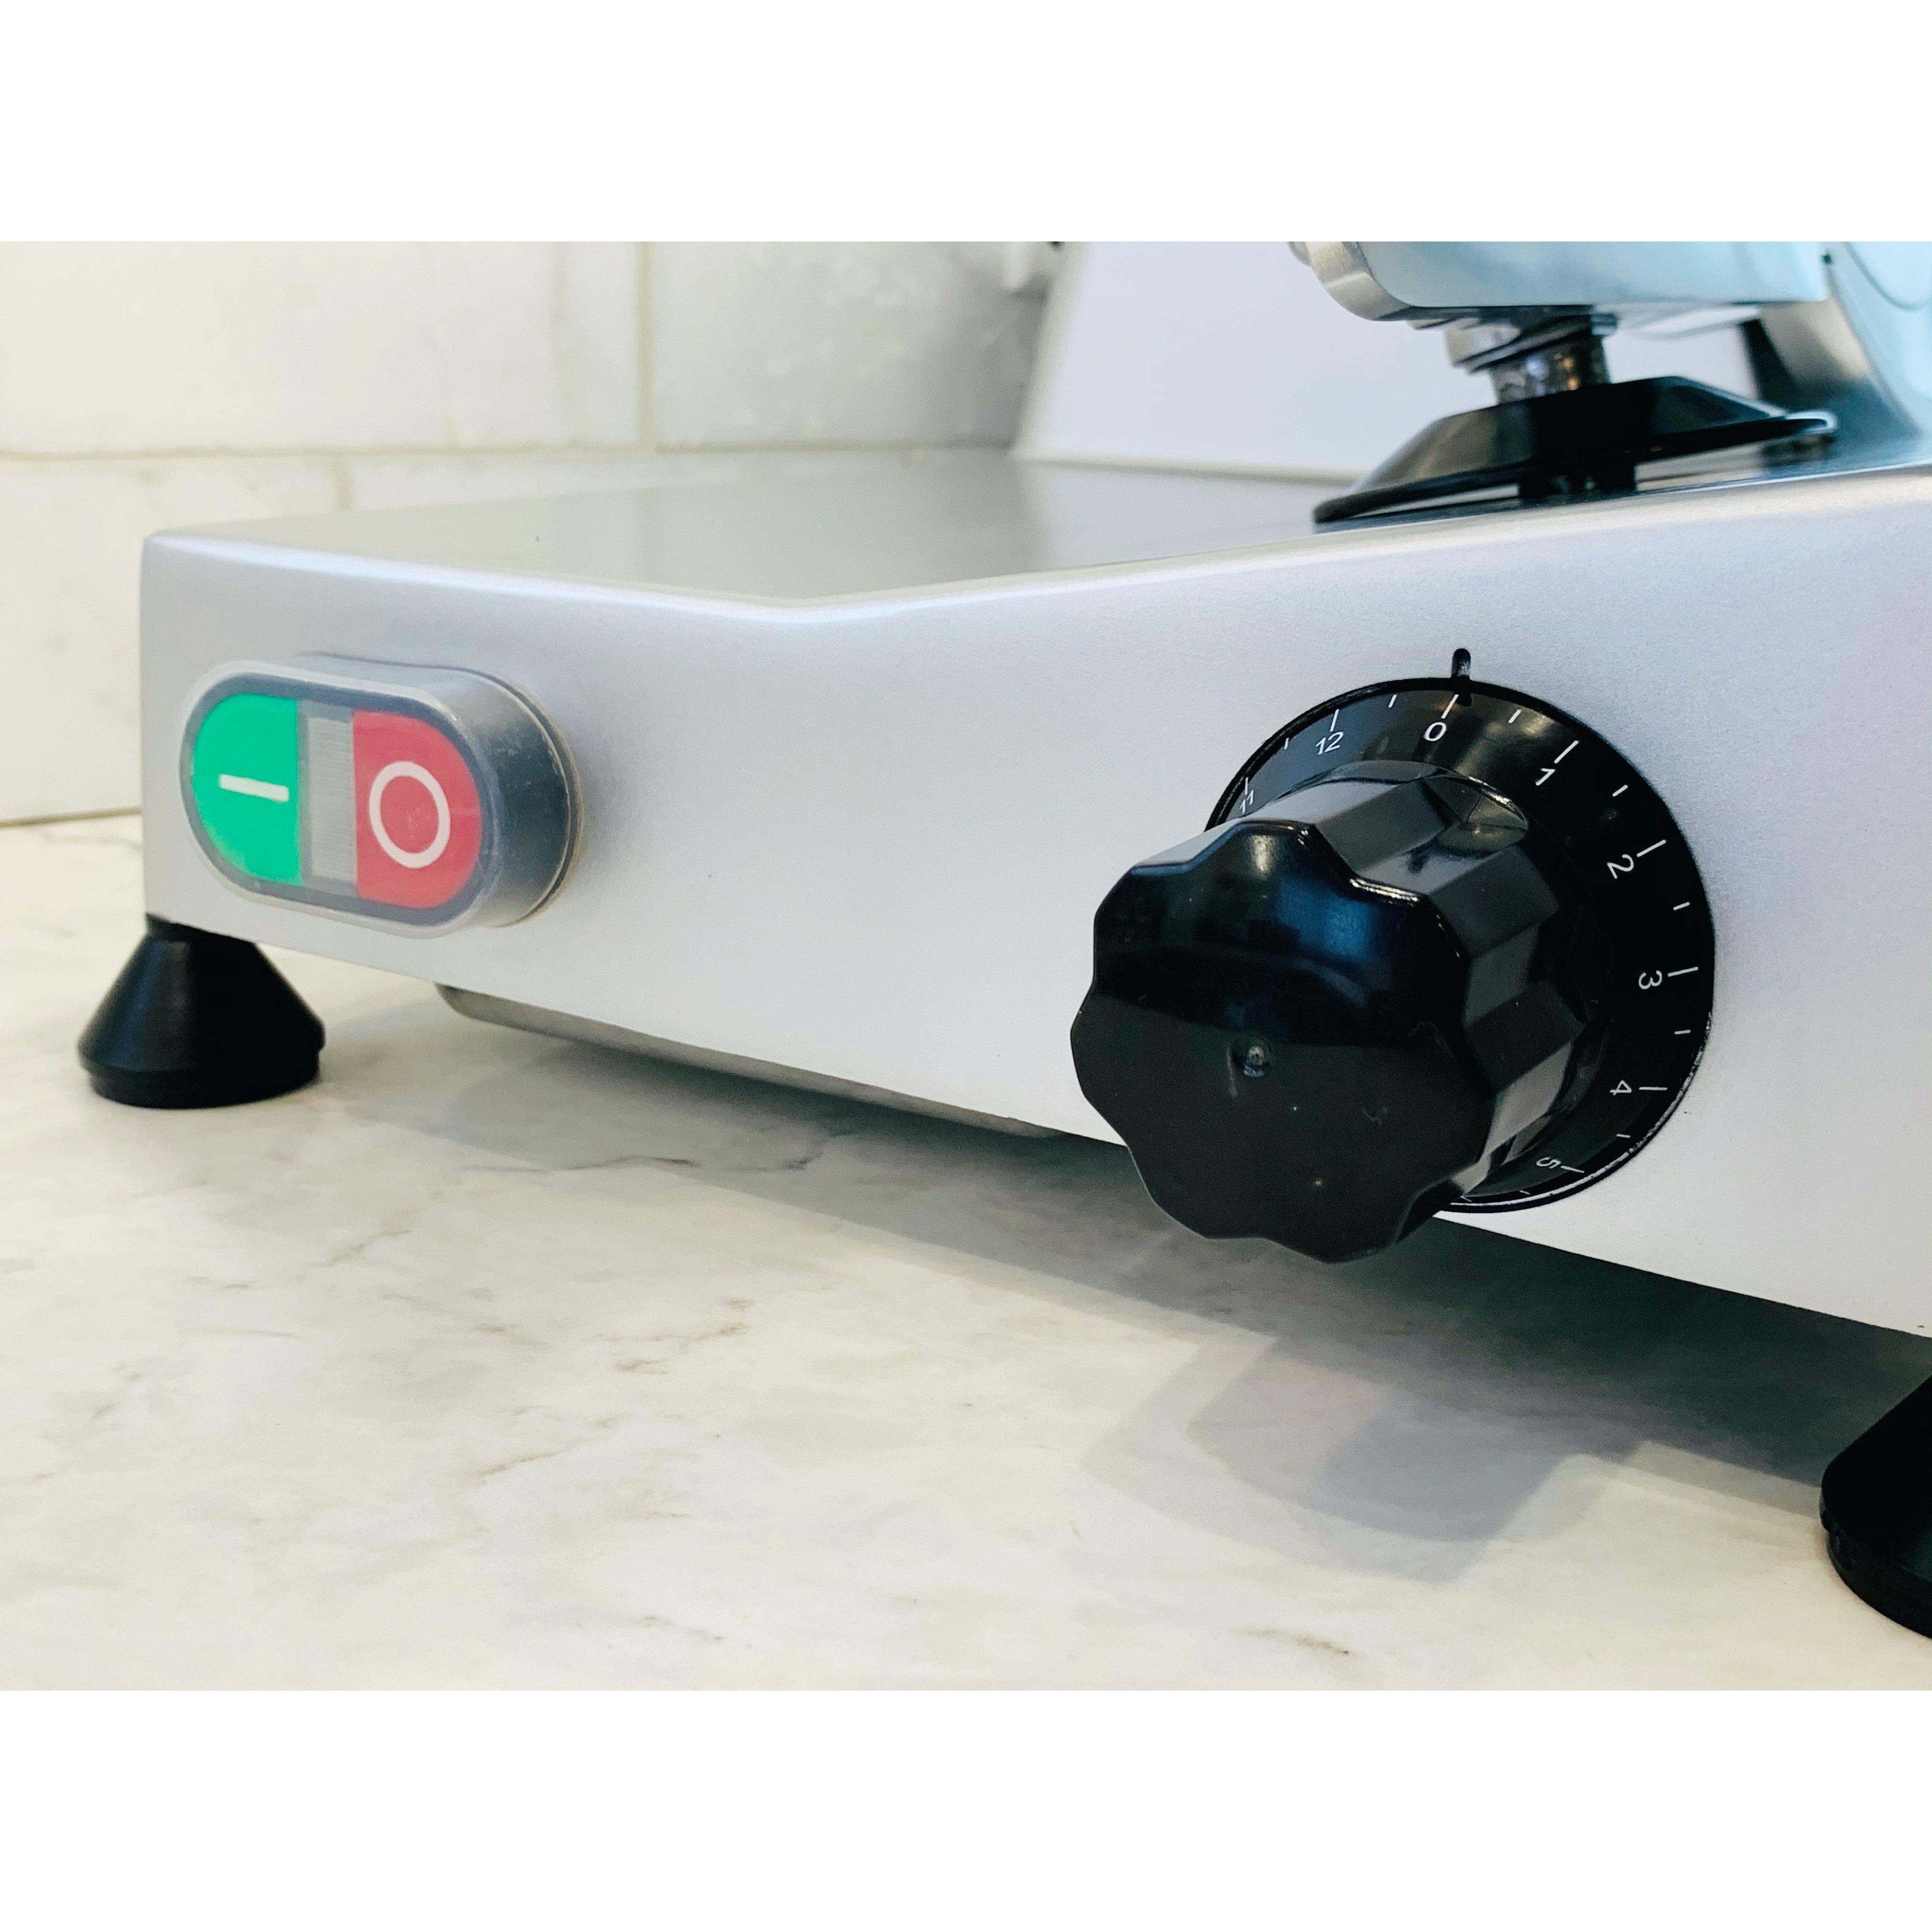
Our semi-automatic meat slicers will take the leg work out of cutting your finest cold cuts; salami, prosciutto, hams, and so much more. We understand that many of our customers are looking for extra fine cuts, especially for traditional European cured ham. Our slicers offer the precision blade adjustment wheel designed to go from paper-thin to 1/2" width so there's no waste and perfect taste! These semi-automatic slicers are belt-driven and have powerful motors to handle any task. Perfect for a lunch sandwich or preparing a feast for a large family gathering! We have a larger 10" model for greater consumption and faster operation.
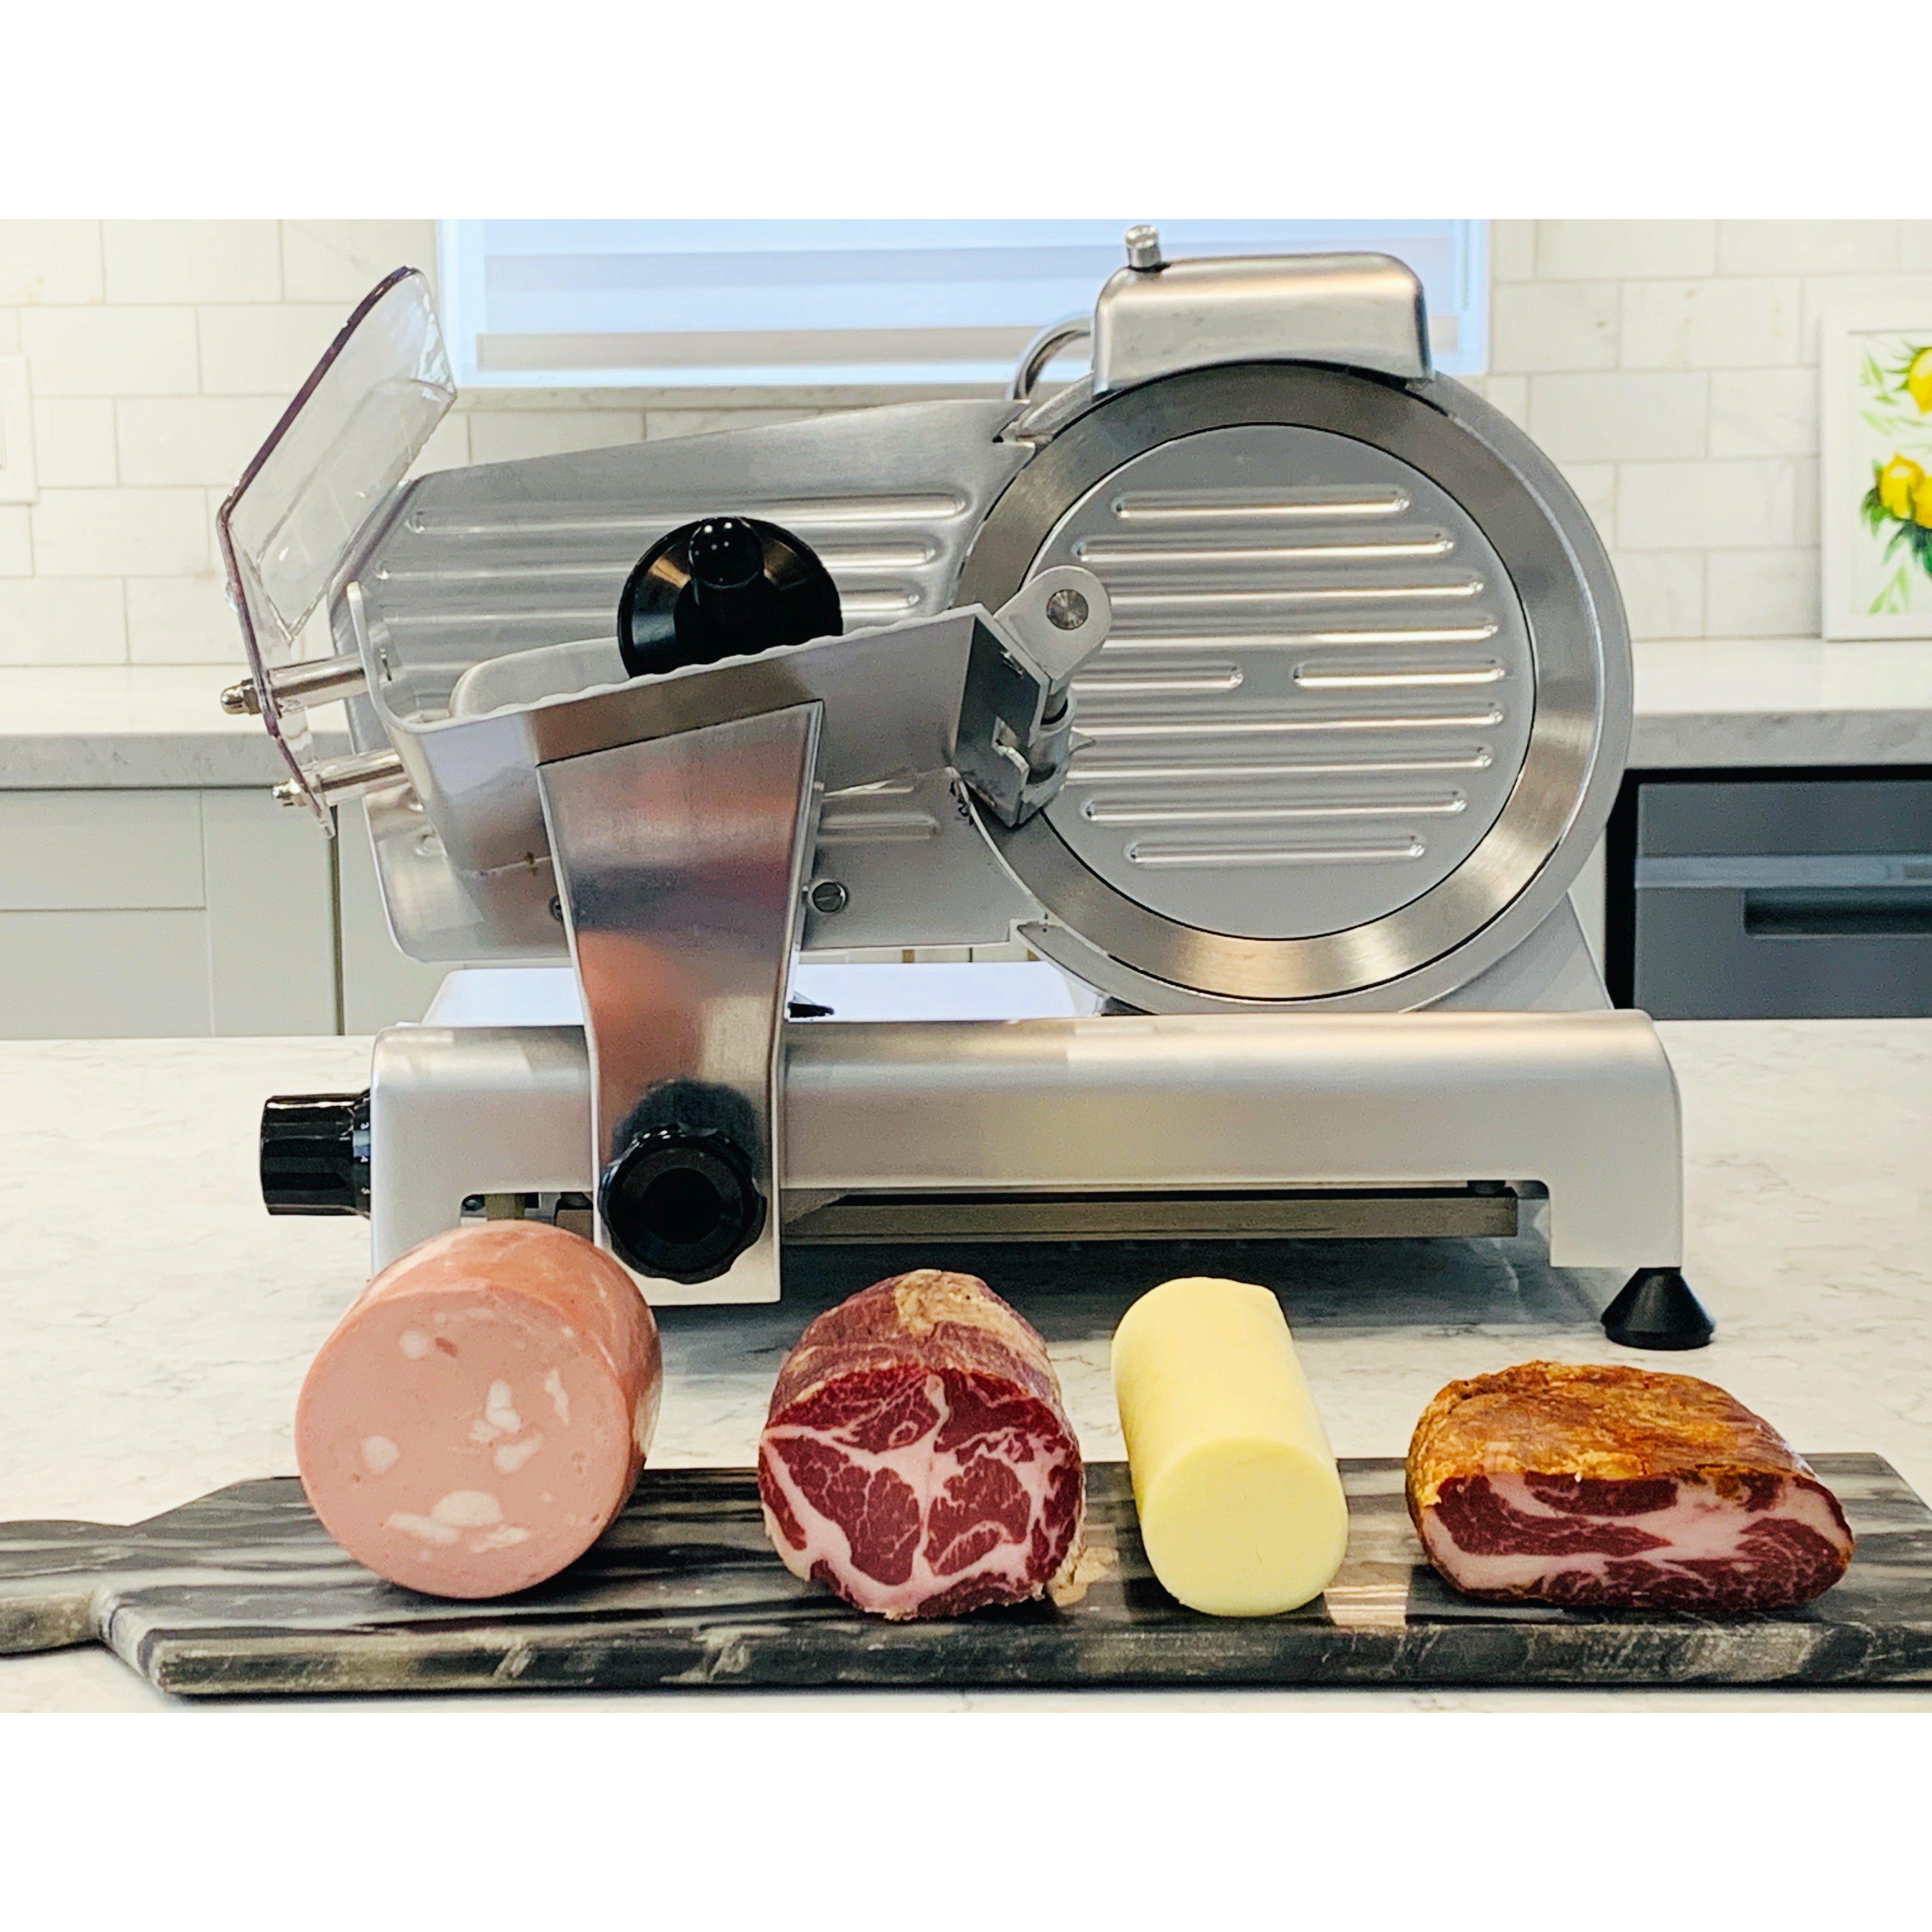
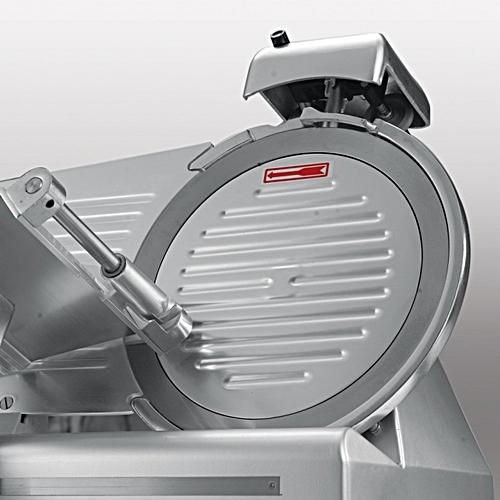
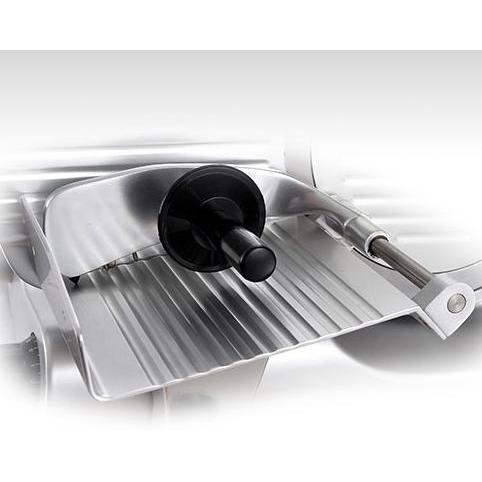
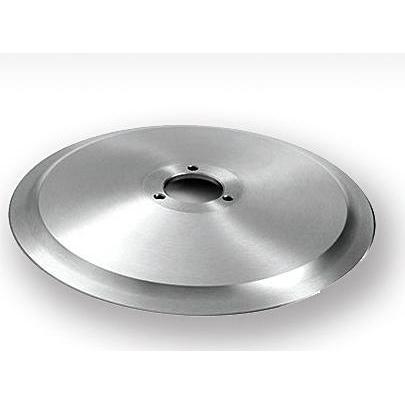
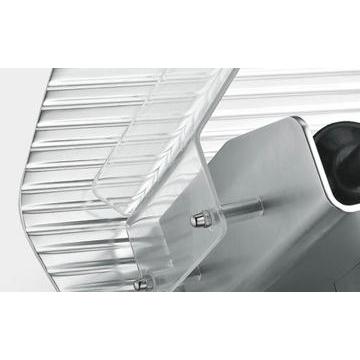
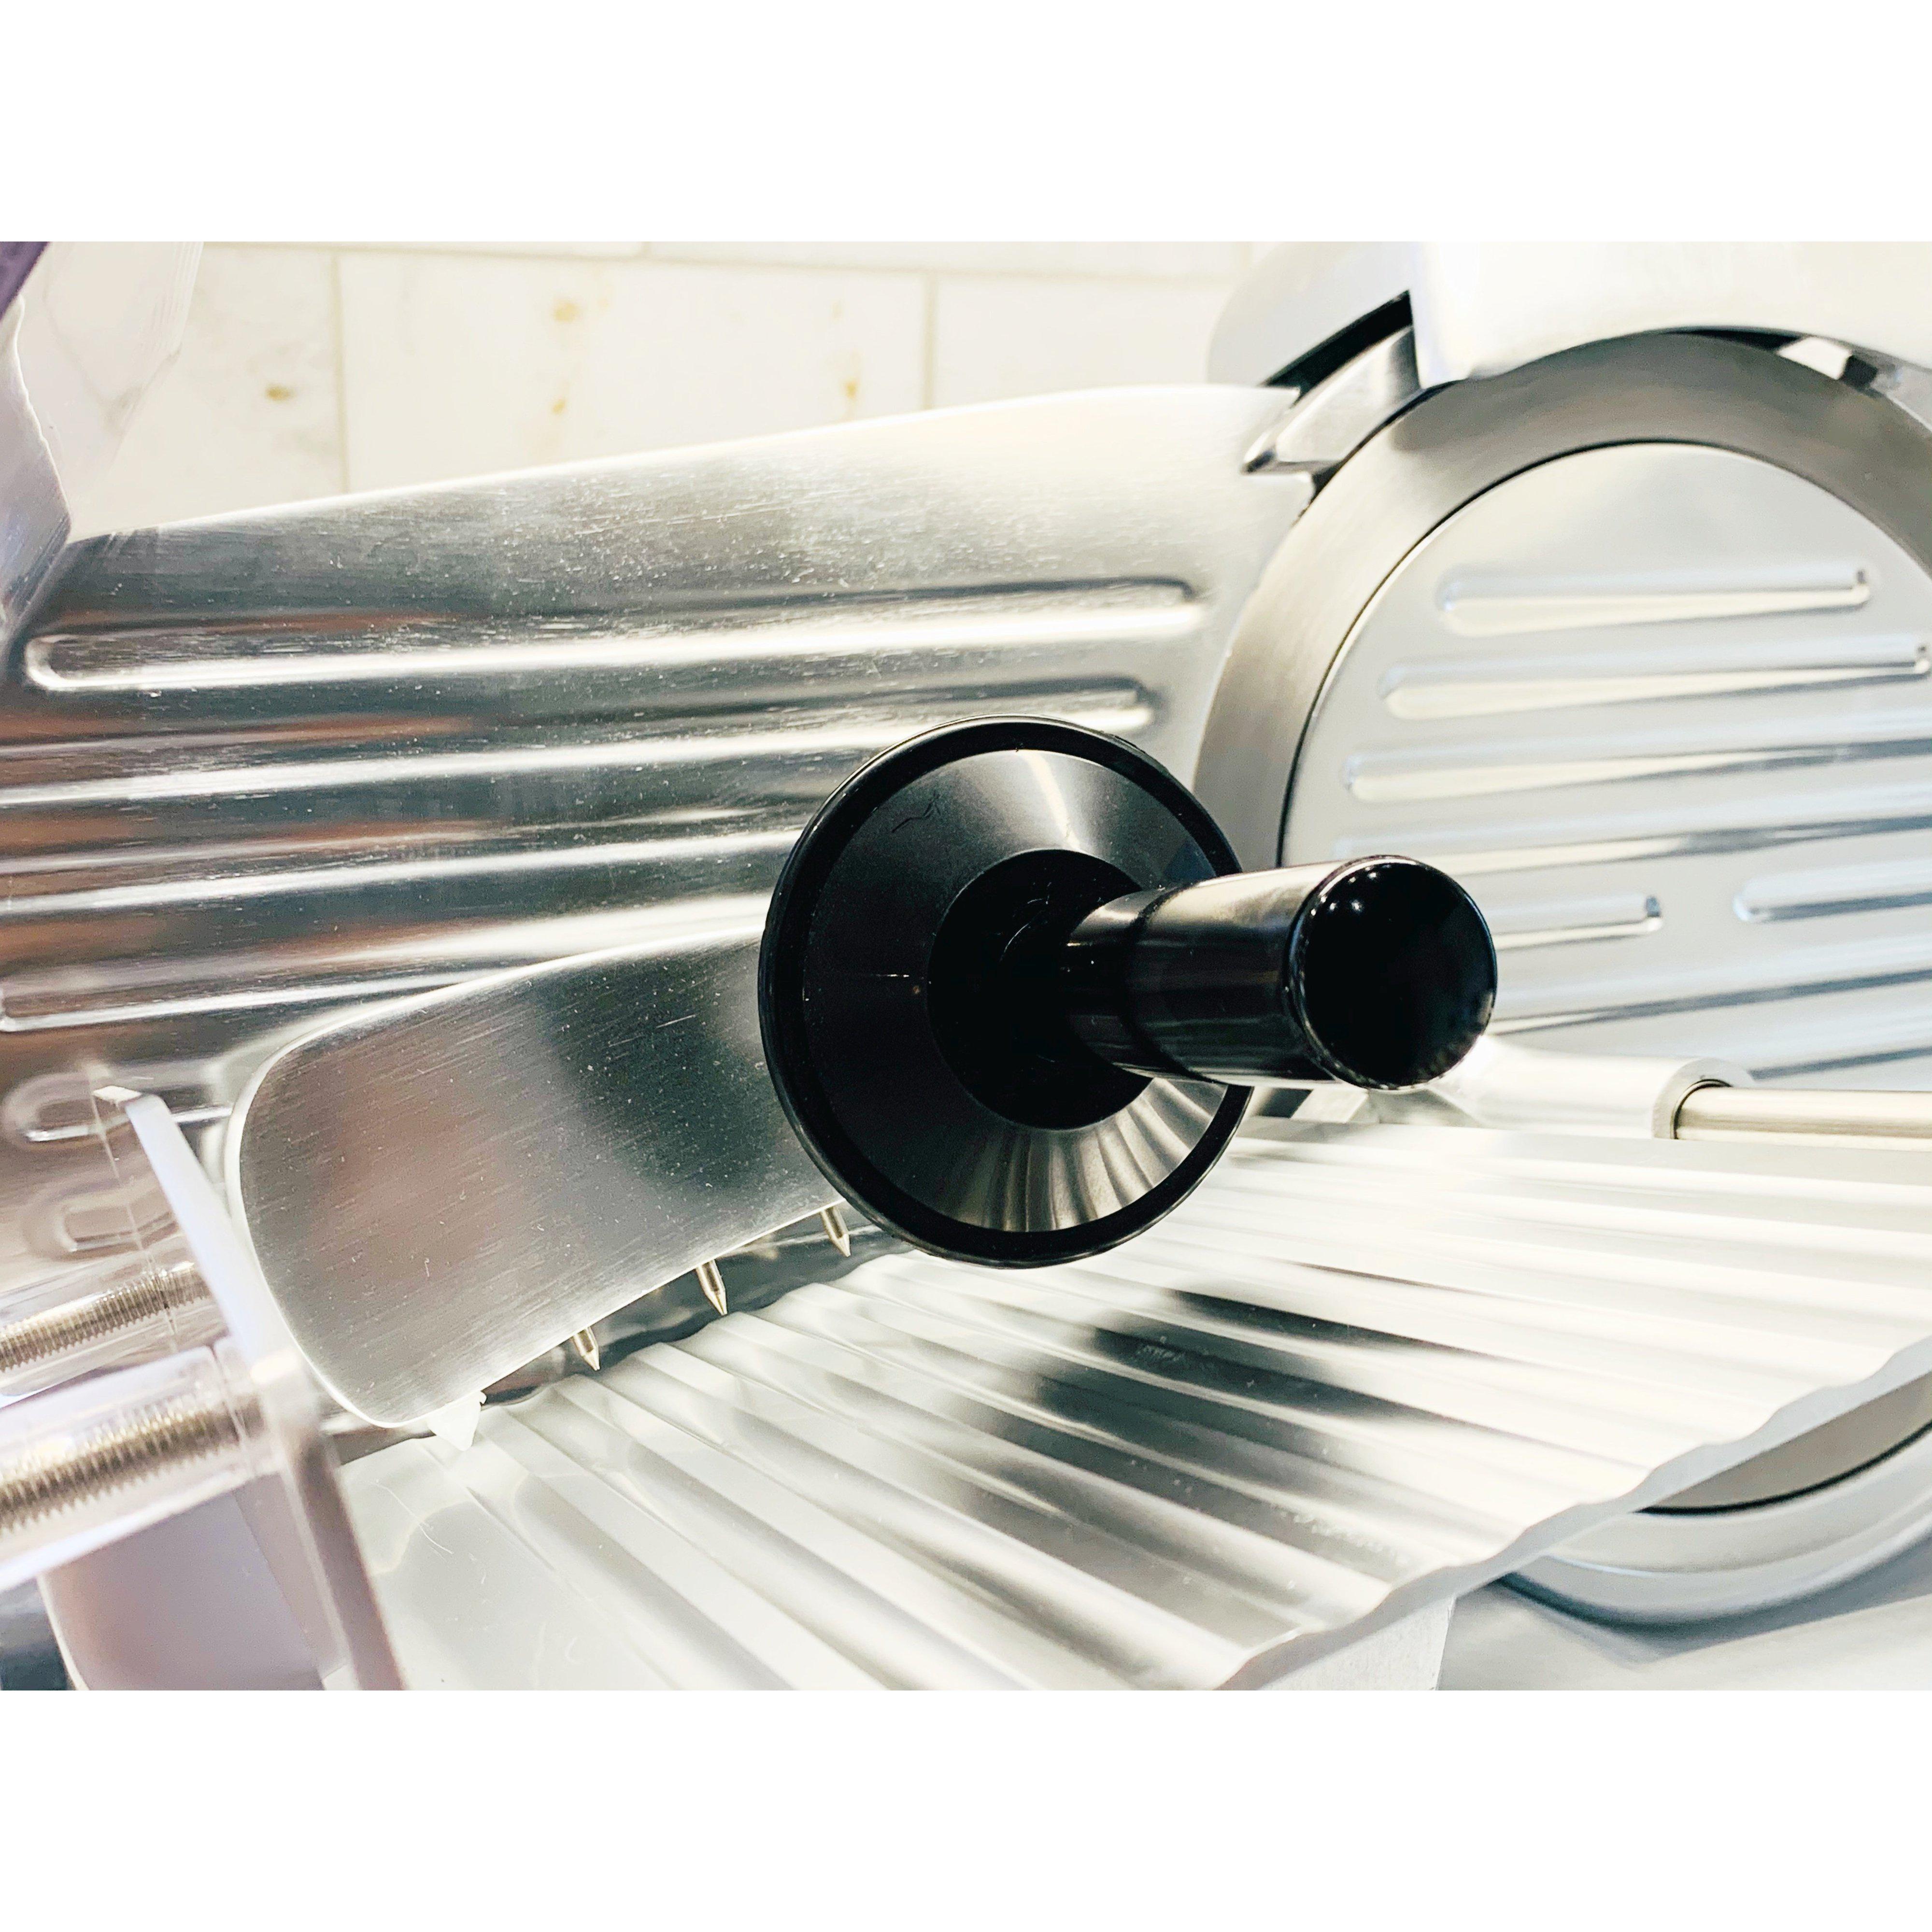
Heavy anodized construction combined with hardened stainless steel cutting blades makes our line of professional semi-automatic slicers the #1 home and business slicers on the market. Smooth ball bearing carriage for clean cuts plus built-in stone sharpener, hand safety guard, commercial quality black handgrips, and rubber feet, for firm mounting.
Your cutting blade can be removed for easy cleaning, it is recommended to make sure your belt drive is securely fastened in place. Each model offers a replacement belt drive included with each purchase and replacement sharpening stone.
Sharpening your blade is quick and simple - Our hardened stainless steel blades are designed to stay sharp so we only recommend sharpening once or twice per year. It is important to follow sharpening instructions included with your parcel, which will indicate the proper sharpening method.
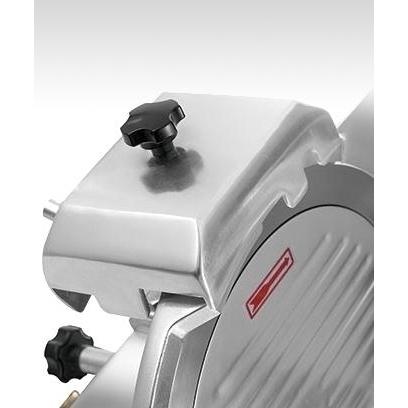
Step 1 – On the back of the unit spin the black knob located at the back of the slicer behind the blade. This will detach the center blade cover. Remove this cover.
Step 2 – You will see three screws, remove these screws then carefully remove the blade (be very careful not to touch the sharp edges) You might want to use a knife to help slowly edge out the blade.
Step 3 – Once the blade is off you then have access to the full cutting area, guard, and all components around the blade.
Step 4 - Clean the surrounding areas while the blade is off, once clean affix the blade carefully applying the steps above in reverse.
For a demonstration on how to clean, sharpen and remove the slicer blade please refer to this video: How To Clean Consiglio's Gourmet ES Meat Slicers
![]() Fast Free U.S. Shipping!
Fast Free U.S. Shipping!


